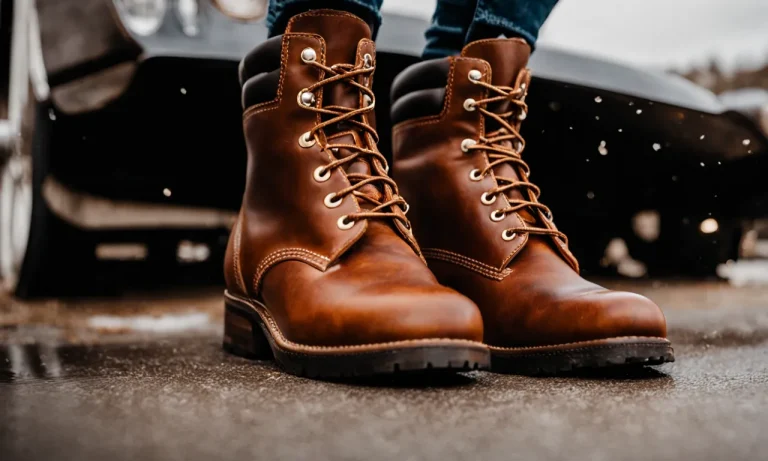
Leather boots are a staple in any stylish wardrobe, but over time they can become scratched and scuffed, marring their sleek look. If your favorite leather boots have seen better days, don’t despair! With the right techniques and products, you can refresh them and erase those annoying marks.
If you’re short on time, here’s a quick answer to your question: Use a leather conditioner to hydrate and soften the leather, gently buff the scratches with a soft cloth, apply a leather filler to fill in any deeper gouges, and finish by applying shoe polish in the scratched area.
In this comprehensive guide, we will walk through all the steps and products you need to fix scratches and scuffs on leather boots, from basic conditioning to using shoe polish. You’ll also learn how to choose the right filler and techniques for deeper scratches.
With a little time and effort, you can restore your boots to their original pristine condition.
Assess the Damage
When it comes to fixing scratches on leather boots, the first step is to properly assess the damage. Take a close look at the scratches and scuffs to determine their severity. Are they superficial surface scratches or deep gouges that have penetrated the leather?
Understanding the extent of the damage will help you choose the appropriate repair method.
Look closely at the scratches and scuffs – are they superficial or deep gouges?
Scratches and scuffs on leather boots can vary in depth. Superficial scratches typically only affect the top layer of the leather and can often be easily buffed out or concealed. On the other hand, deep gouges penetrate deeper into the leather and may require more extensive repair techniques.
By closely examining the scratches, you can determine the best course of action to fix them.
Determine if the finish is damaged or if the scratches go all the way through the leather
In addition to assessing the depth of the scratches, it’s important to determine if the leather’s finish has been damaged. The finish is the protective coating on the surface of the leather that gives it its shine and durability.
If the scratches have only damaged the finish, you may be able to fix them with simple methods like applying leather conditioner or using a leather repair kit. However, if the scratches go all the way through the leather, more extensive repair techniques may be necessary.
For more information on leather repair and maintenance, you can visit websites like www.leatherhelp.com or www.leatherworldtech.com which provide detailed guides and products specifically designed for leather repair.
Condition the Leather
When it comes to fixing scratches on leather boots, conditioning the leather is an essential step. By using a high-quality leather conditioner, you can restore the moisture and flexibility of the leather, making it easier to repair any scratches.
Rub a leather conditioner into the scratched area and let it soak in
Start by applying a small amount of leather conditioner onto a clean cloth. Gently rub the conditioner into the scratched area, using circular motions. Make sure to cover the entire scratched surface. Allow the conditioner to soak into the leather for a few minutes.
This will help soften the leather and prepare it for the next step.
This hydrates the leather and makes it more pliable for buffing out scratches
Conditioning the leather not only hydrates it but also makes it more pliable, which is crucial for buffing out scratches. The conditioner helps to soften the leather fibers, making them more receptive to repairs.
This step is especially important for deep scratches or scuffs that may require more extensive treatment.
Remember to choose a leather conditioner that is suitable for your type of leather boots. Different types of leather may require specific conditioners, so make sure to read the instructions and follow the manufacturer’s recommendations.
If you’re unsure about which conditioner to use, consult a professional or do some research on reputable leather care websites like www.leathercare.com.
Gently Buff the Scratches
Use a soft cloth to gently buff the scratched areas
When it comes to fixing scratches on leather boots, one of the first steps is to gently buff the affected areas. You can start by using a soft cloth, such as a microfiber or a lint-free cloth. This will help remove any dirt or debris that may be sitting on the surface of the scratches.
By doing so, you can have a clearer view of the extent of the damage and better assess the next steps to take.
Work in a circular motion to blend the edges of the scratches
When buffing the scratches, it is important to work in a circular motion. This technique helps to blend the edges of the scratches with the surrounding leather, making them less noticeable. By doing so, you can achieve a more uniform and polished appearance on your boots.
Remember to apply gentle pressure and avoid vigorous rubbing, as this can potentially cause more damage to the leather.
Be careful not to damage the leather by rubbing too hard
While it’s important to buff the scratches, it’s equally important to be cautious not to damage the leather by rubbing too hard. Leather is a delicate material, and excessive rubbing can lead to further scratches or even discoloration.
Take your time and apply gentle pressure, allowing the leather to respond to your efforts. If the scratches are deep or extensive, it might be best to seek professional help to ensure the proper care and restoration of your leather boots.
For more information on caring for leather boots, you can visit www.leathercareusa.com. They provide valuable tips and techniques for maintaining the quality and appearance of leather products.
Use a Leather Filler for Deeper Scratches
If you have deeper scratches on your leather boots, using a leather filler can be a great solution. A leather filler is a compound specifically designed to fill in scratches and restore the appearance of the leather. Here are the steps to effectively use a leather filler:
Select a filler in a color matching the boots
When choosing a leather filler, it is important to select one that closely matches the color of your boots. This will ensure a seamless repair and prevent any noticeable color differences. You can find leather fillers in various colors at your local shoe repair shop or online.
Massage the filler into any deeper gouges and let dry completely
Before applying the leather filler, clean the surface of the scratch with a leather cleaner or mild soap and water. Once the area is clean and dry, take a small amount of the filler and gently massage it into the scratch. Make sure to fill the entire depth of the scratch for optimal results.
Allow the filler to dry completely as per the manufacturer’s instructions.
Buff gently with a soft cloth to smooth
After the filler has dried, take a soft cloth and gently buff the surface of the repaired area. This will help smooth out any excess filler and blend it with the surrounding leather. Be careful not to apply too much pressure, as it may damage the repaired area.
Continue buffing until the repaired scratch is no longer visible.
Remember, using a leather filler is best for deeper scratches. For smaller surface scratches, you may consider using a leather conditioner or polish to restore the appearance of your boots. If you’re unsure about the best approach for your specific boots, it’s always a good idea to consult a professional shoe repair expert for advice.
Apply Shoe Polish and Buff to Finish
Use a polish close to the original boot color
When it comes to fixing scratches on leather boots, one effective method is to apply shoe polish. Start by selecting a shoe polish that closely matches the color of your boots. This will ensure that the scratches are concealed and the final result looks seamless.
If you’re unsure about the right shade, it’s always a good idea to test the polish on a small, inconspicuous area of the boot before applying it to the scratched area.
Apply polish over the scratched area and let dry
Once you have the right polish, apply it generously over the scratched area. Use a soft cloth or a brush to spread the polish evenly, making sure to cover the entire affected area. Allow the polish to dry completely before moving on to the next step.
Drying time can vary depending on the type of polish used, so refer to the manufacturer’s instructions for guidance.
Buff the area with a soft cloth to blend and restore shine
After the polish has dried, it’s time to buff the area to blend the polish with the rest of the boot and restore its shine. Take a clean, soft cloth and gently rub the polished area in circular motions. This will help to evenly distribute the polish and create a smooth finish.
As you buff, you’ll notice the scratches becoming less visible, and the leather will regain its lustrous shine.
Remember, it’s important to be patient and take your time when fixing scratches on leather boots. Rushing through the process may result in an uneven finish. By following these steps and giving your boots the care they deserve, you can restore their appearance and prolong their lifespan.
Conclusion
With a few straightforward techniques and leather care products, you can erase scratches and scuffs on leather boots at home. By conditioning, buffing, filling deeper gouges, and polishing, you can make them look as good as new.
With proper care, your boots will stay scratch-free and stylish for many seasons to come.


